What’s the cheapest way to build a silage clamp?
Spoiler alert - the information contained below is almost certainly false or untrue. In my defence it wasn’t at the point of writing, but it almost certainly is by the time you read it. So that begs the question why - just why write something that’s going to become obsolete by the time it’s published? Well it’s because I’m weak and have given into demands and nagging. That’s because the most common question I’m asked is:
What’s the cheapest way to build a silage clamp?
Now no farmer wants to be known as the one who over pays for ANYTHING, EVER so it’s no surprise that whenever you start to talk about spending any money or investing in something, the next question is always “whats the cheapest”. And that thinking makes sense because ultimately a silage clamp is a business investment and so the optimum solution should be the lowest capital cost for the anticipated outcome. In other words how do you spend the least on a clamp and still get good silage out of it?
For the purposes of this article I’m going to concentrate on the walls of a silage clamp because the layout, the floor and the location all have big impacts on the cost and the silage quality but they have been - or will be - covered elsewhere in this series. So lets retitle that question as:
What’s the cheapest way to build a silage clamp wall?
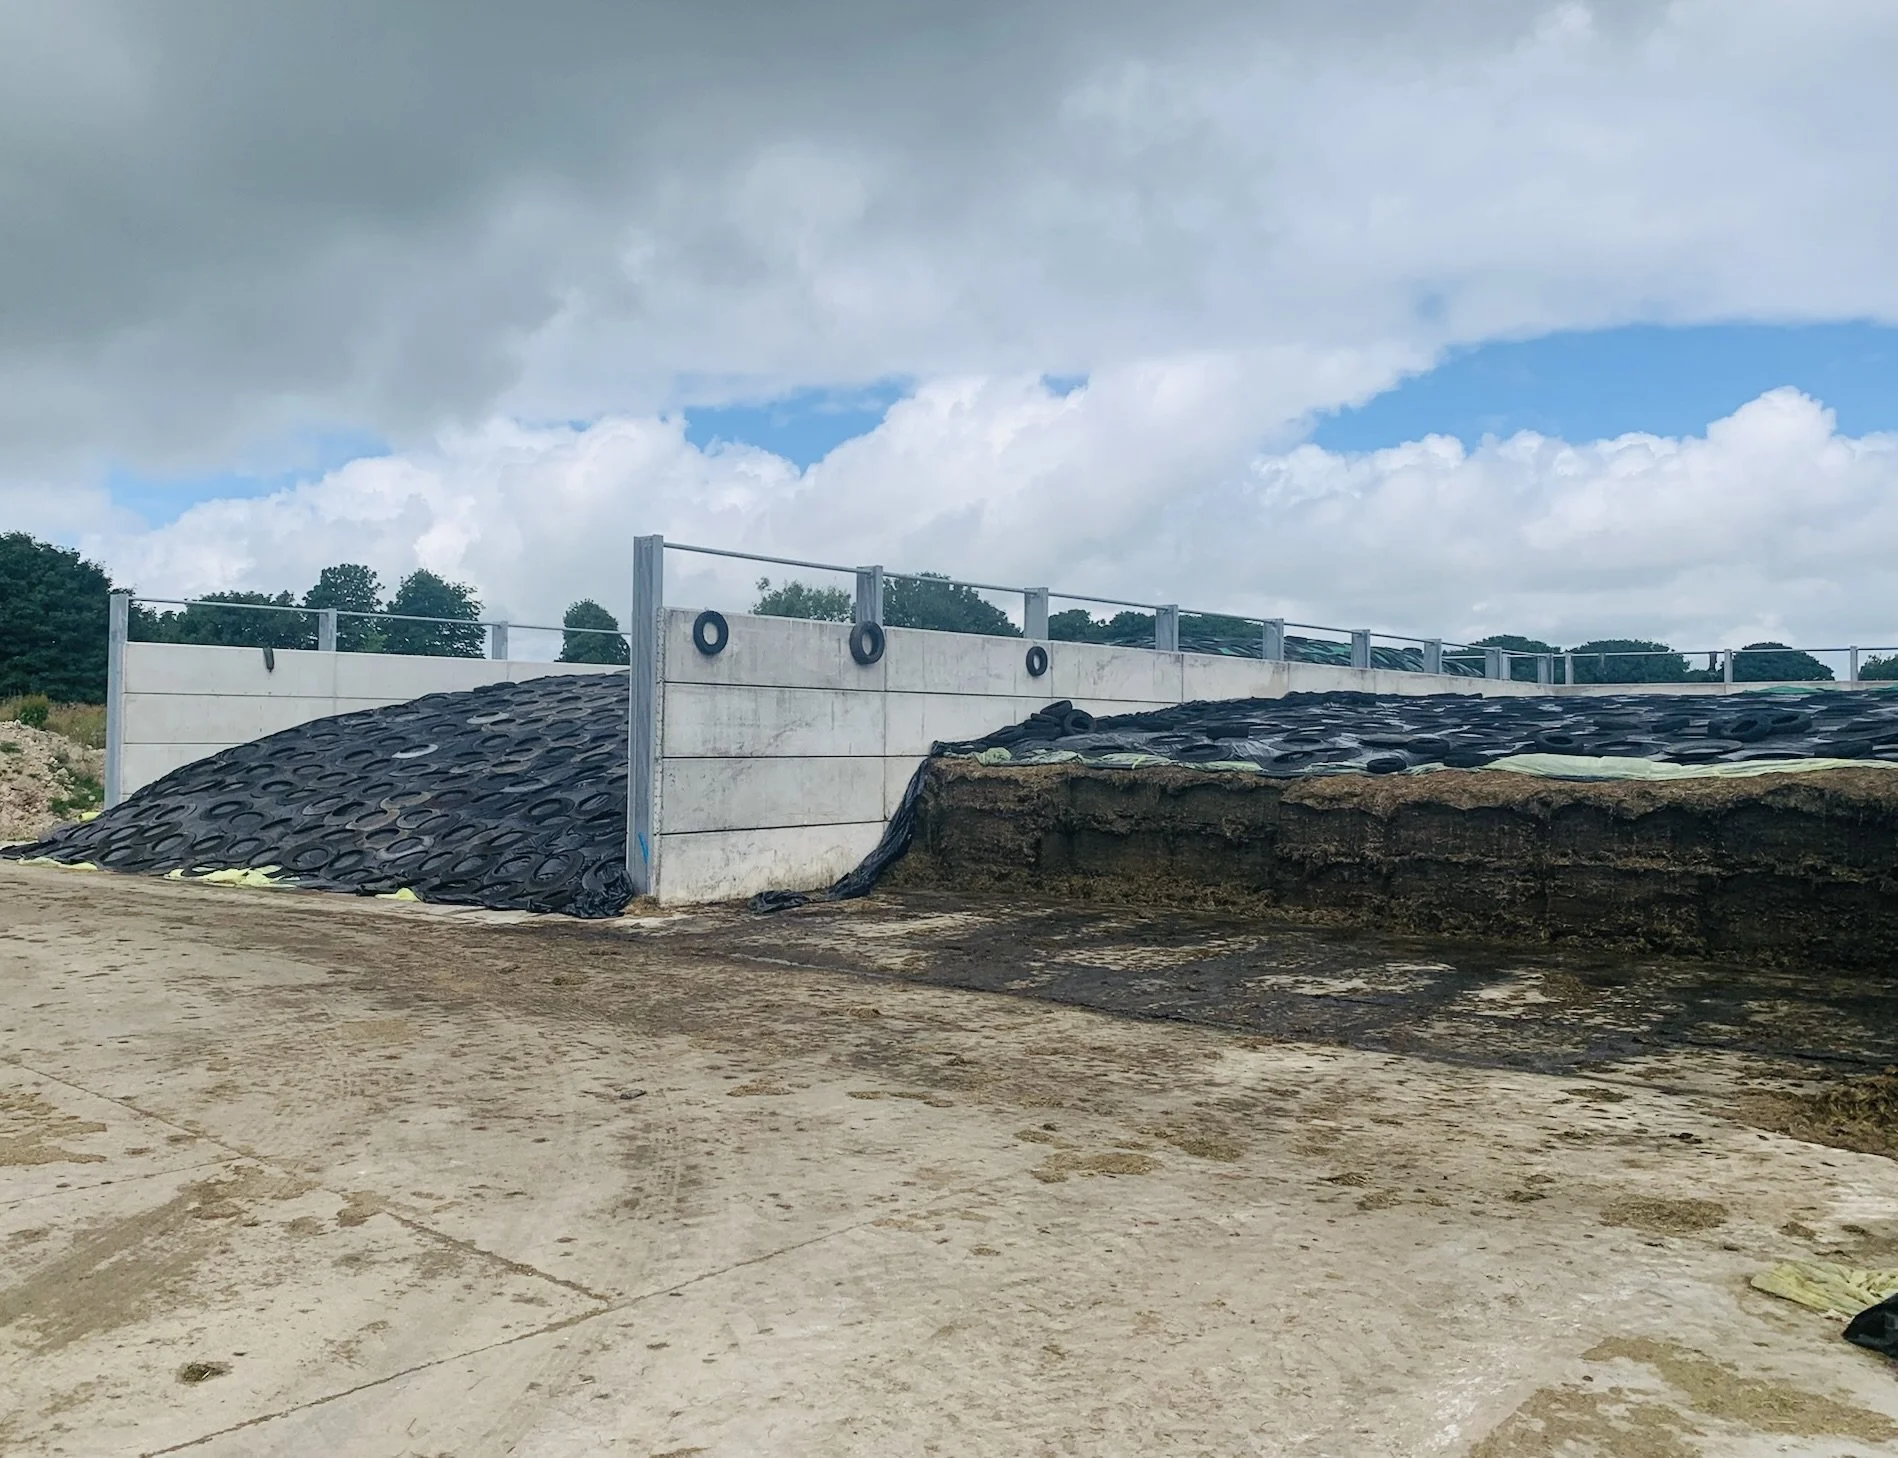
In the past you might have considered a few materials for a silage clamp wall, such as earth, timber or concrete. That was back in the good old days, but currently you’re probably only going to be considering some sort of concrete wall. And that’s because of two things, legislation and progress. Progress has led to bigger and better everything, including some bloody huge pieces of agricultural equipment. Progress has led to tractors that are too heavy for a timber silage wall. Progress has also led to legislation too (has it really?) and this has forced us to find an alternative to an earth banked wall. So we are left with concrete; but how best, or cheapest, to use it?
So clamp walls might be a good idea?
Concrete walls come in all sorts of shapes and sizes but generally they can be grouped into a handful of different types as follows:
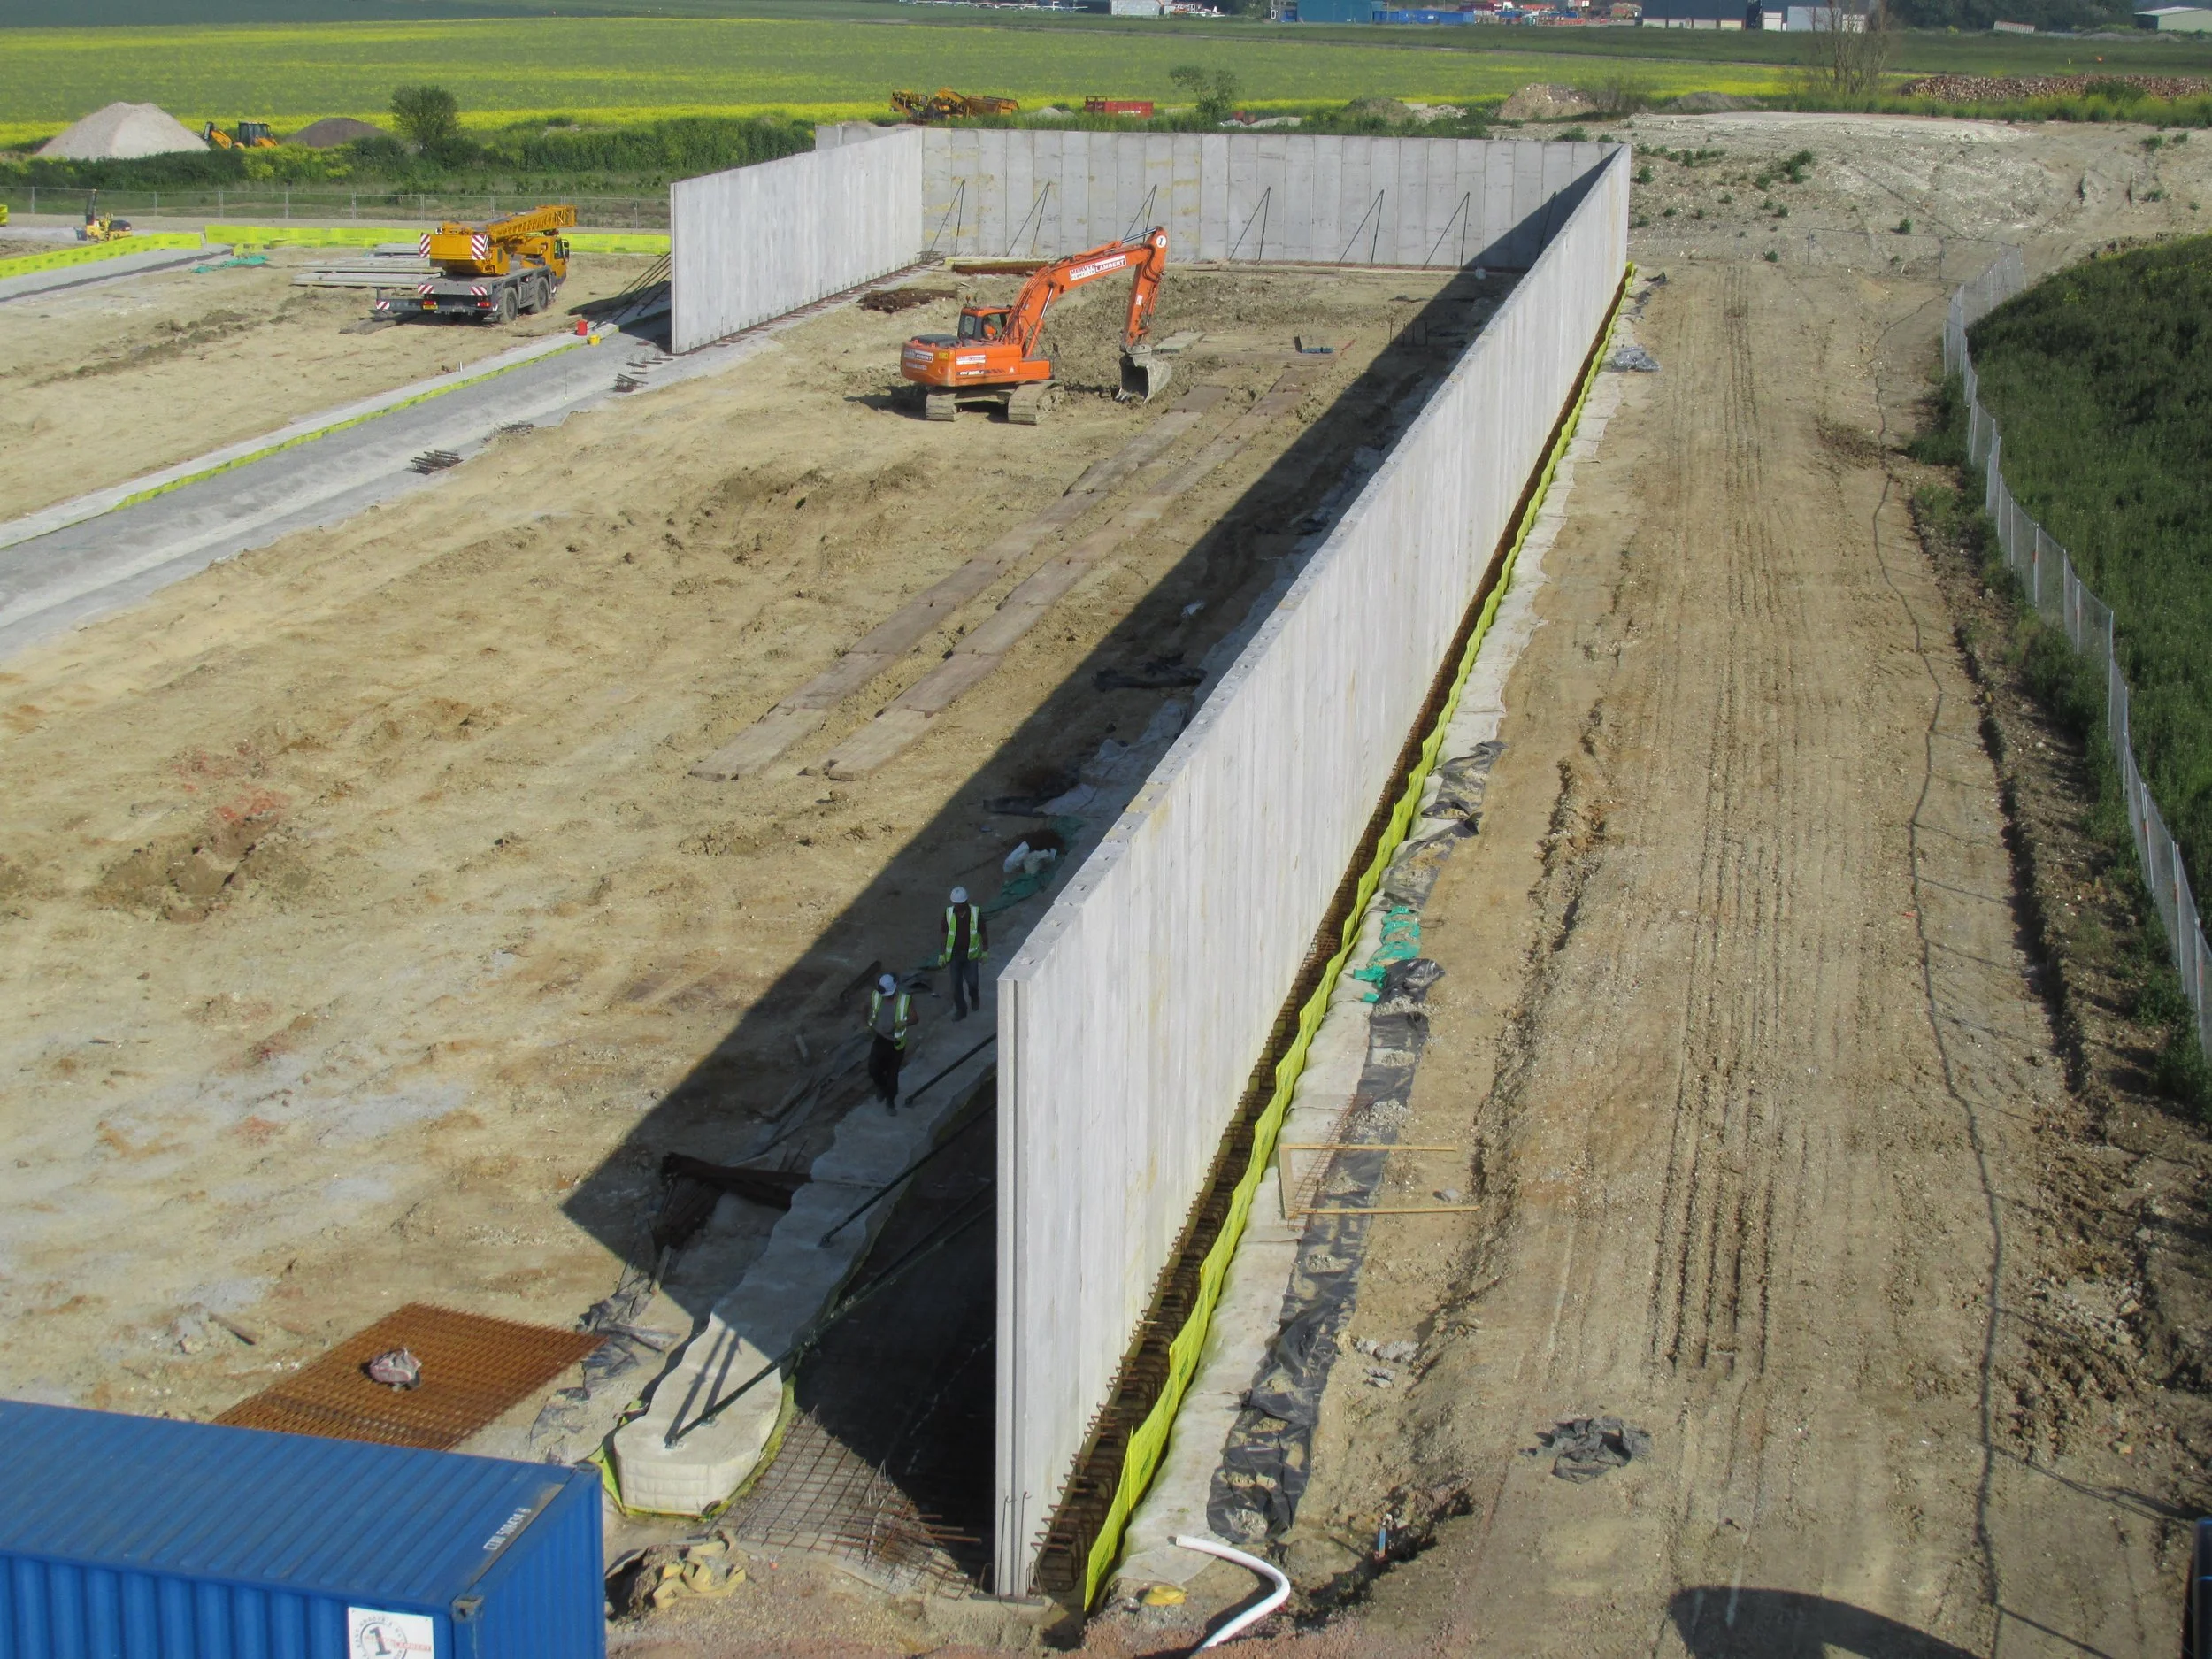
Precast panels and steel posts
Precast L, T, U or A shapes
Cast in-situ
Concrete lined earth
Precast cantilevers
So which one is cheapest?
Up to this point I maintain that all the above is true, for the next part you need to read the disclaimer….. So in a recent exercise I carried out for a large two bunker clamp storing well over 10,000 tonnes, the cheapest option was……. Oh come on out with it……. OK, disappointingly there wasn’t much to choose between the panel with posts option and precast cantilevers. In fact the difference was less than 2% on a figure well over a quarter of a million pounds. Now that’s still five to six thousand pounds so it’s a saving worth considering but this difference should only be a consideration and not the deciding factor - because not all walls are equal.
So what are the differences between the different types of silage clamp wall?
We firstly we need to look at the difference between precast and cast in-situ and it’s pretty simple to understand. Precast is made in a factory to a standard design, while cast in-situ is formed from ready mix on site, in its final location, to a bespoke individual design. You could think of it as an M & S sweater compared to a jumper knitted by your nan. Now if your nan is red hot on the needles and she has a budget supply of yarn then she might be competitive, but it’s likely the M&S pull-over is going to be cheaper - or if that’s still too expensive you could go to Primark for a budget option. Cast in-situ can be competitive for really huge constructions (unlike nan) where there is no off the shelf option, but for everything else, precast is usually cheaper.
What are LUTA Precast wall panels?
Most of us are familiar with the L shaped concrete panel, because it’s shaped like the letter L. Logically U, T and A shapes all follow the same rules but are unusually suited to forming dividing walls that have silage on both sides at some point. L and T shaped panels rely on the weight of the silage sitting on the base of the panel to hold up the stem. This makes sense but it also makes them difficult to clean off. A’s are becoming more popular because they “self clean” and U’s are popular because they offer safe clamp access and somewhere to store covers and weights within the trough of the U.
So that’s the positives, but in terms of the negatives, whatever the shape, these units are inherently expensive to manufacture and transport. These units are also almost exclusively reinforced by mesh and bent bar. This is system tried, tested, expensive and inefficient. A more efficient solution is to prestress the concrete with tensioned strands. This solution is capital intensive to set up but it is labour and material efficient. The only real problem is that the resultant products are also always flat planks.
Are flat silage panels cheapest?
If they are prestressed (and they almost all are nowadays) then they will probably be the cheapest form of silage wall, but how are you going to hold them up? Usually it's a steel post that does the hard work here, oh that and the foundations holding the post up. Choosing the right size of steel column is vital but also relatively simple for an engineer. There are couple of things to keep in mind when trying to work this out.
Firstly the concrete panels collect up all the loads and forces from the silage and the tractor on top and pass it to the columns. This means (obviously) that the further apart you put the columns, the more load they have to sustain.
Secondly the higher the walls the greater the loads will be - another blatantly obvious statement - but the loads will be greater than you might expect. I’ve often heard it said that “we are only adding a bit at the top and there is next to no load up there” and this could not be more wrong. By going higher, you are actually adding more at the bottom because the loads at the top will never change how ever high you go. The bit at the bottom has much more load on top of it and that’s the key point. It’s all to do with the internal angle of shear resistance and the bulk density of the material stored, together with effects of the surcharge forces applied. And if that sentence doesn’t make perfect sense to you, then it might be best for you to get a professional to work out what size steel columns you need!
Thirdly you need to remember that the column is like a big lever so the longer (or taller) it is, the more it is likely to bend or buckled at the bottom.
Getting the foundation correct is something a bit more complex and will also be the subject for a later article. The vertical cantilever system will also be covered there too because that’s really a long line of continuous column foundations.
How to work out what is the cheapest way to build a silage clamp?
The answer to this one is simple, get a really good silage consultant to do it for you, because there is a hell of a lot to consider. A professional cost appraisal will cost you something like a couple of loads of ready mix, and could save you ten of thousands. And you should also get a clamp that’s designed to minimise waste and stand up to the loads without falling over too.
If you want to discuss the cheapest way to build to your silage clamp or would like to discuss any other aspects covered in this series, contact me at jeremy@silageconsultant.co.uk


