What is the best concrete for a silage clamp?
It’s grey and it’s dull; it’s too expensive and no farm ever has enough of it. Concrete is the bedrock of farm construction and it’s pretty much unavoidable if you’re building a silage clamp. So you probably need to know more about it because just like everything else in farming, the devil (and the profit) is in the detail.
What’s the best concrete for a silage clamp?
So what’s the best concrete for a silage clamp and what’s the difference between good concrete and bad concrete when not comes to silage storage? Well to answer these questions we need to step back a bit and look at the bigger picture because concrete is variable and you will need different types for different jobs. The rules - SSAFO regulations - tell us that the floor of a silage clamp must be impermeable and made from either concrete or asphalt. The CIRIA guidelines suggest we should be using a prescribed mix such as RC45 for floor slabs to achieve this and for this article I’m only going to concentrate on floor slabs although the rules on mixing, and placing it, apply for all concrete.
Ok so that’s what they want you to use, but have you ever tried to lay RC45 on a hot summer afternoon, and what exactly is it, and what about the walls and the foundations, there are just too many questions.
Concrete for floor slabs?
So how exactly do you achieve the impermeable slab that is required - no I really really need to know because to my understanding it is technically impossible to produce a concrete or asphalt slab that is totally impermeable. That’s because concrete and tarmac contain holes that will (at the least) allow gases to permeate through it. And these holes are the crux of this article, the holes are the big problem with concrete. The difference between good and bad concrete is the holes.
What’s in your concrete?
To understand this we need to look at what is in the mix. Sand, cement and aggregates or stone, those are the keys to concrete, oh and water, that’s important too. The cement holds it all together, the stones provide the mass strength and the sand fills in the gaps. The strength of the concrete depends on the amount and type of cement, up to a point. That point is usually the load or force where the stone actually begins to shear and fail.
Now there is a whole PHD in the type and quantity of cement in a mix and I’m not disappearing down that rabbit hole. The whole point of “prescribed mixes” is to ensure your RC45 is the same as my RC45. Well it won’t be the same because your sand and stones probably came from different quarries but the aim is to produce concretes that have the same performance. The resultant 28 days compressive strength should be least 45N/mm2 in this case. To achieve this each RC45 mix should have similar amounts of each ingredient. The sand, cement and aggregates are listed in kilograms per cubic metre of concrete but these are usually closely guarded secrets.
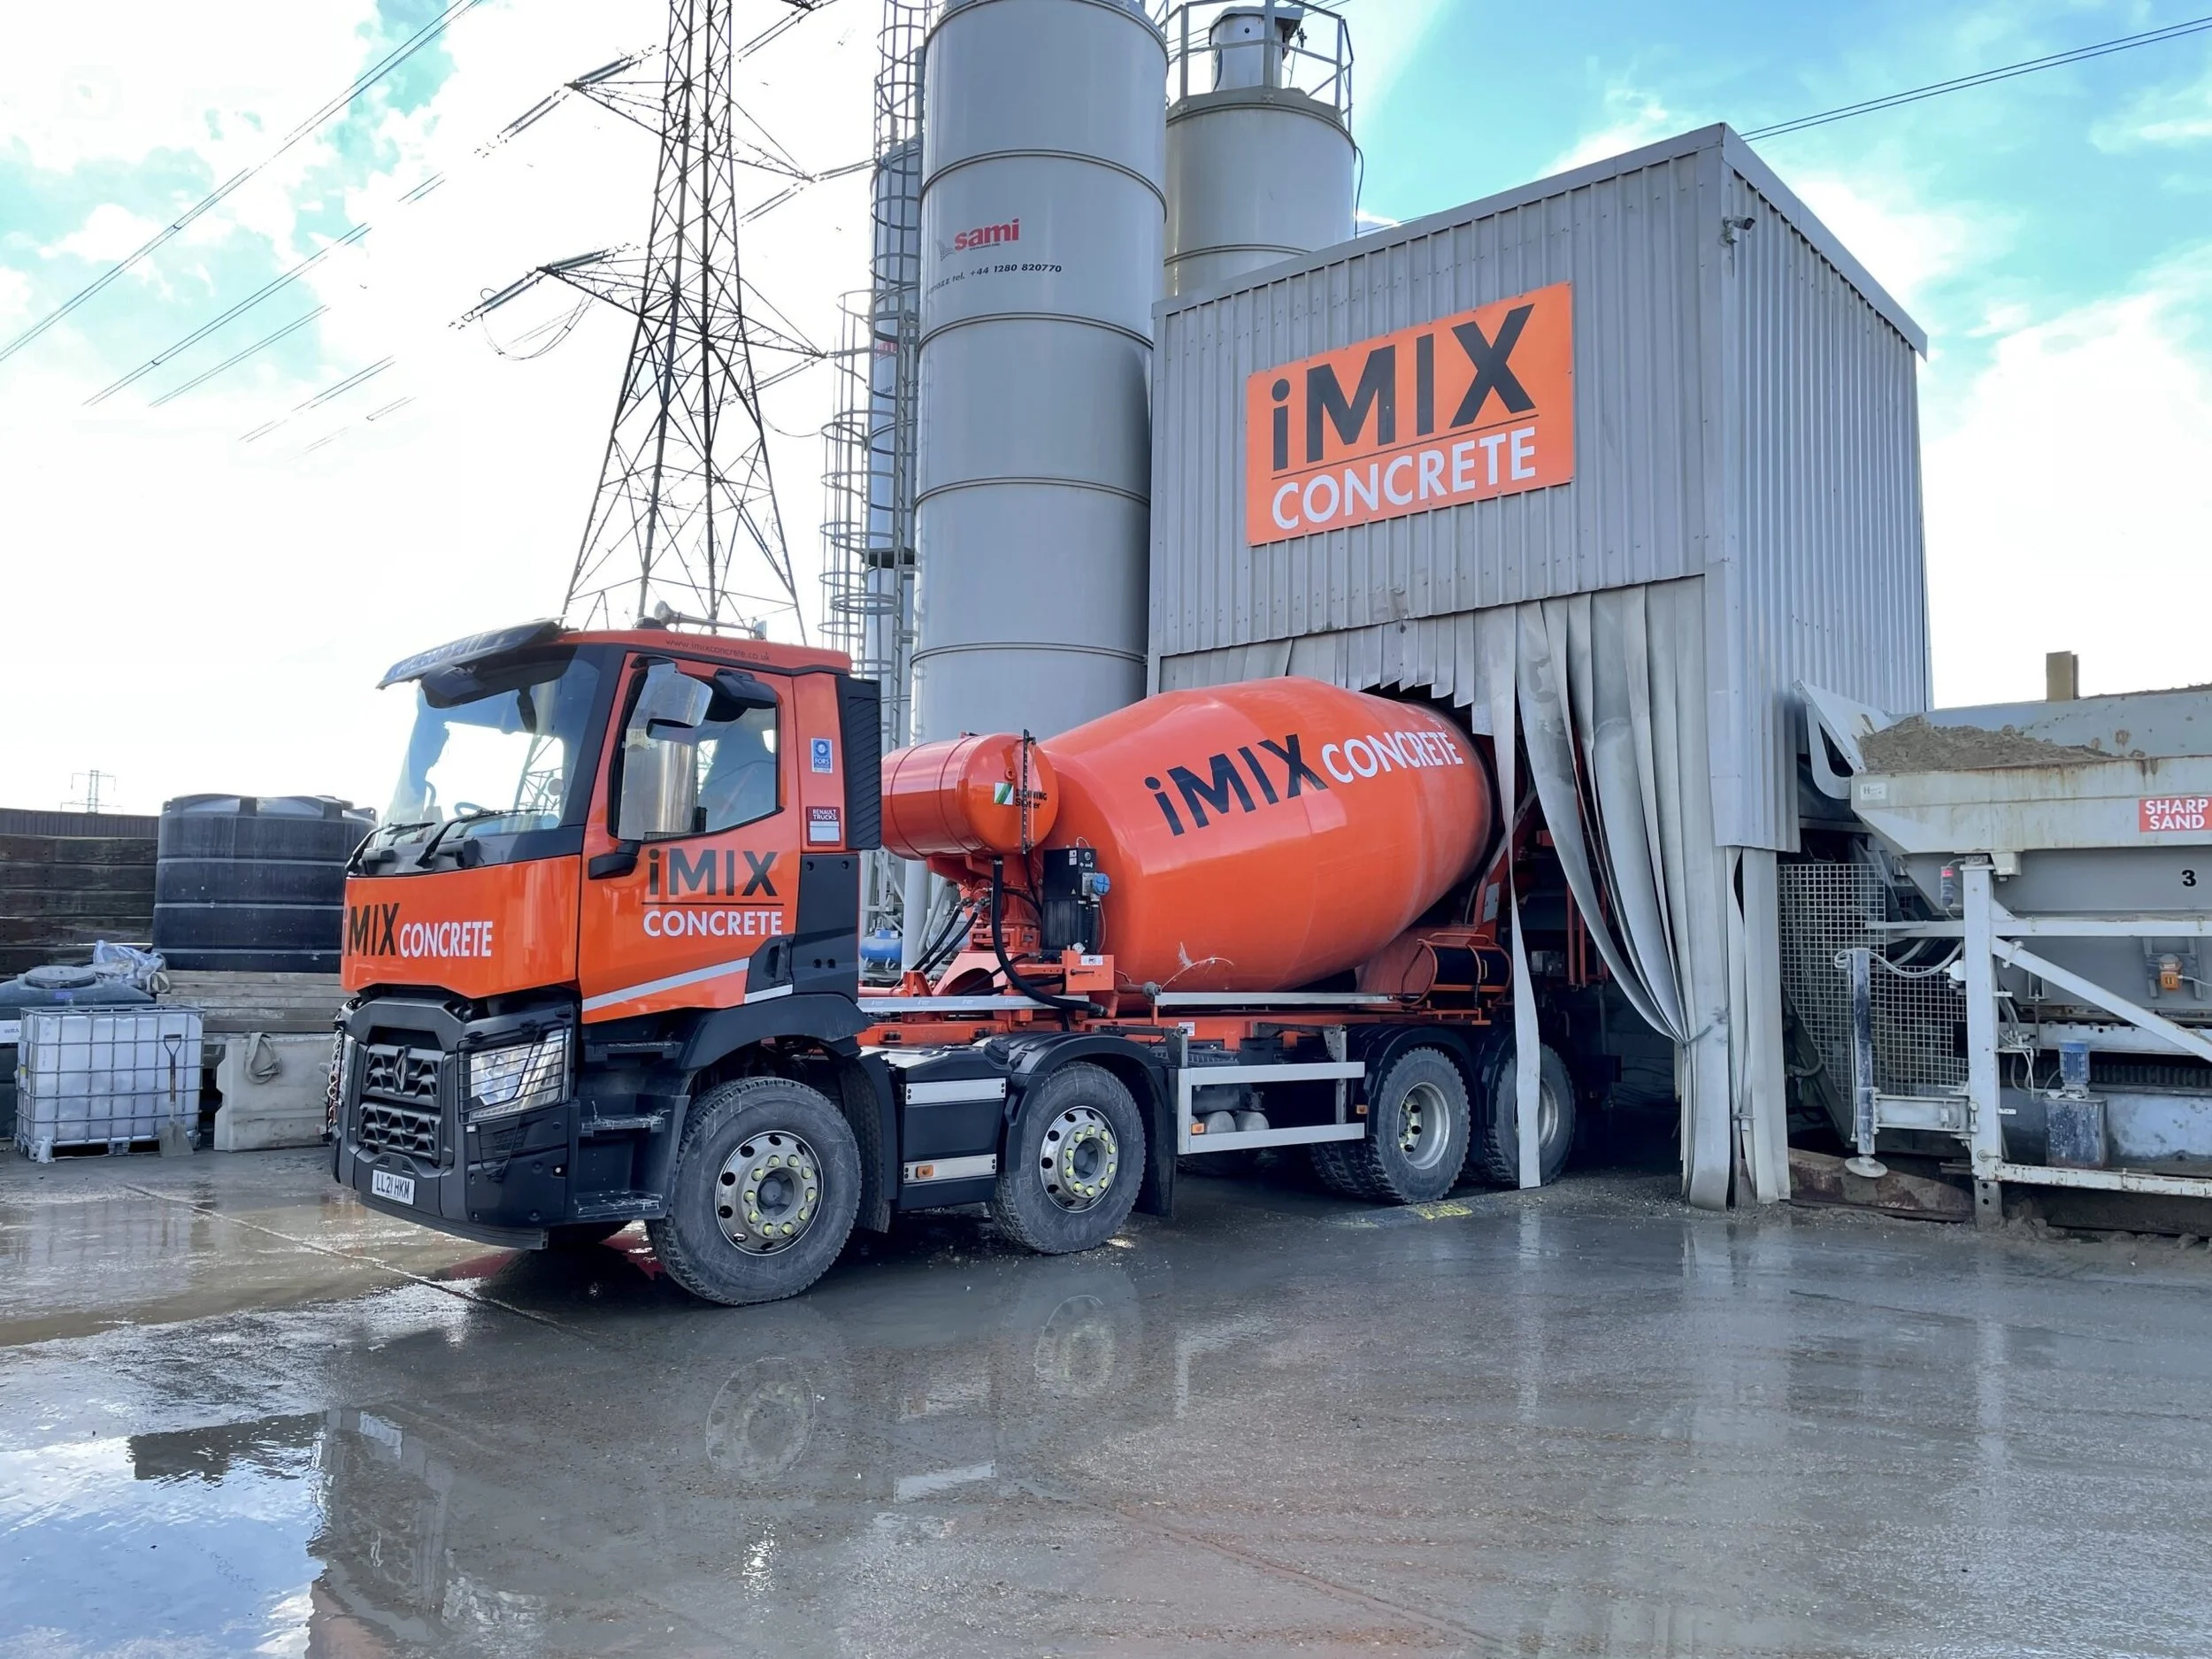
Concrete batching plant iMix Concrete
The water in the mix is usually listed as a ratio compared to the cement. For an RC45 mix a water cement ration of around 0.5:1 is usual. That means for every kilogram of cement there is half a litre of water. The prescribed mix lists this ratio too and it’s important.
How important is the water in a concrete mix?
Most of us completely underestimate just how important the water is in a concrete mix. Important isn’t really the right word. Vital? Critical? No they are not strong enough either. Water IS the difference between good concrete and bad (and I know I said holes earlier but it’s the same thing as explained later). Until we understand the importance of the water, we will continue to waste money on concrete. If you have a bit of the yard that’s breaking up, it’s probably the bit where someone added some more water into the mix. And the temptation to add some more water is really strong because water helps concrete to flow and level. It takes the backache out of placing concrete - especially RC45 on a sunny afternoon because that wants to set as soon as it comes out of the mixer.
So what’s the problem with adding more water to concrete?
It’s all down to chemistry because when concrete “sets” it isn’t just “drying out” it’s actually the cement inside the mix hydrating in a chemical process. As the concrete cures, 250 millilitres of the water are bound up in the hydration process for every kilogram of cement (or 1 litre of water for every 4 kg of cement). If you think back to that ratio of water to cement, that would be a mix of 0.25:1 but that wouldn’t produce great concrete. That’s because the concrete is drying out as water evaporates, oh and the hydration process makes heat so that speeds up the evaporation. If you mix concrete at 0.25:1 ratio the concrete would run out of water before all the cement had bound up in hydration.

Also a mix at 0.25:1 would be impossible to work, place or compact. So we always add extra water to compensate for the water lost and to act as lubrication; to make the concrete sloppy. And what happens to that “extra” water in the long term? Well it comes out of the concrete in water vapour. - eventually. It comes out and leaves behind holes because as soon as the concrete reaches its initial set, it’s shape and size won’t change. The more water you add, the more holes there will be in the resultant slab.
Compromising on water?
So more water is a massive problem because the holes make a slab more permeable and it also lets in moisture to attack the reinforcing and/or blow the concrete apart in when it freezes. So getting the right amount of water is a compromise. The compromise has been optimised by the boffins when they designed these prescribed mixes. Only they probably didn’t allow for the fact that the stone might be wet or they assumed the sand was a bit less damp than it actually is, oh and that it was drizzling with rain this morning. All of which mean it's more of a compromise and that it’s really, really difficult to control the water cement ratio in concrete.
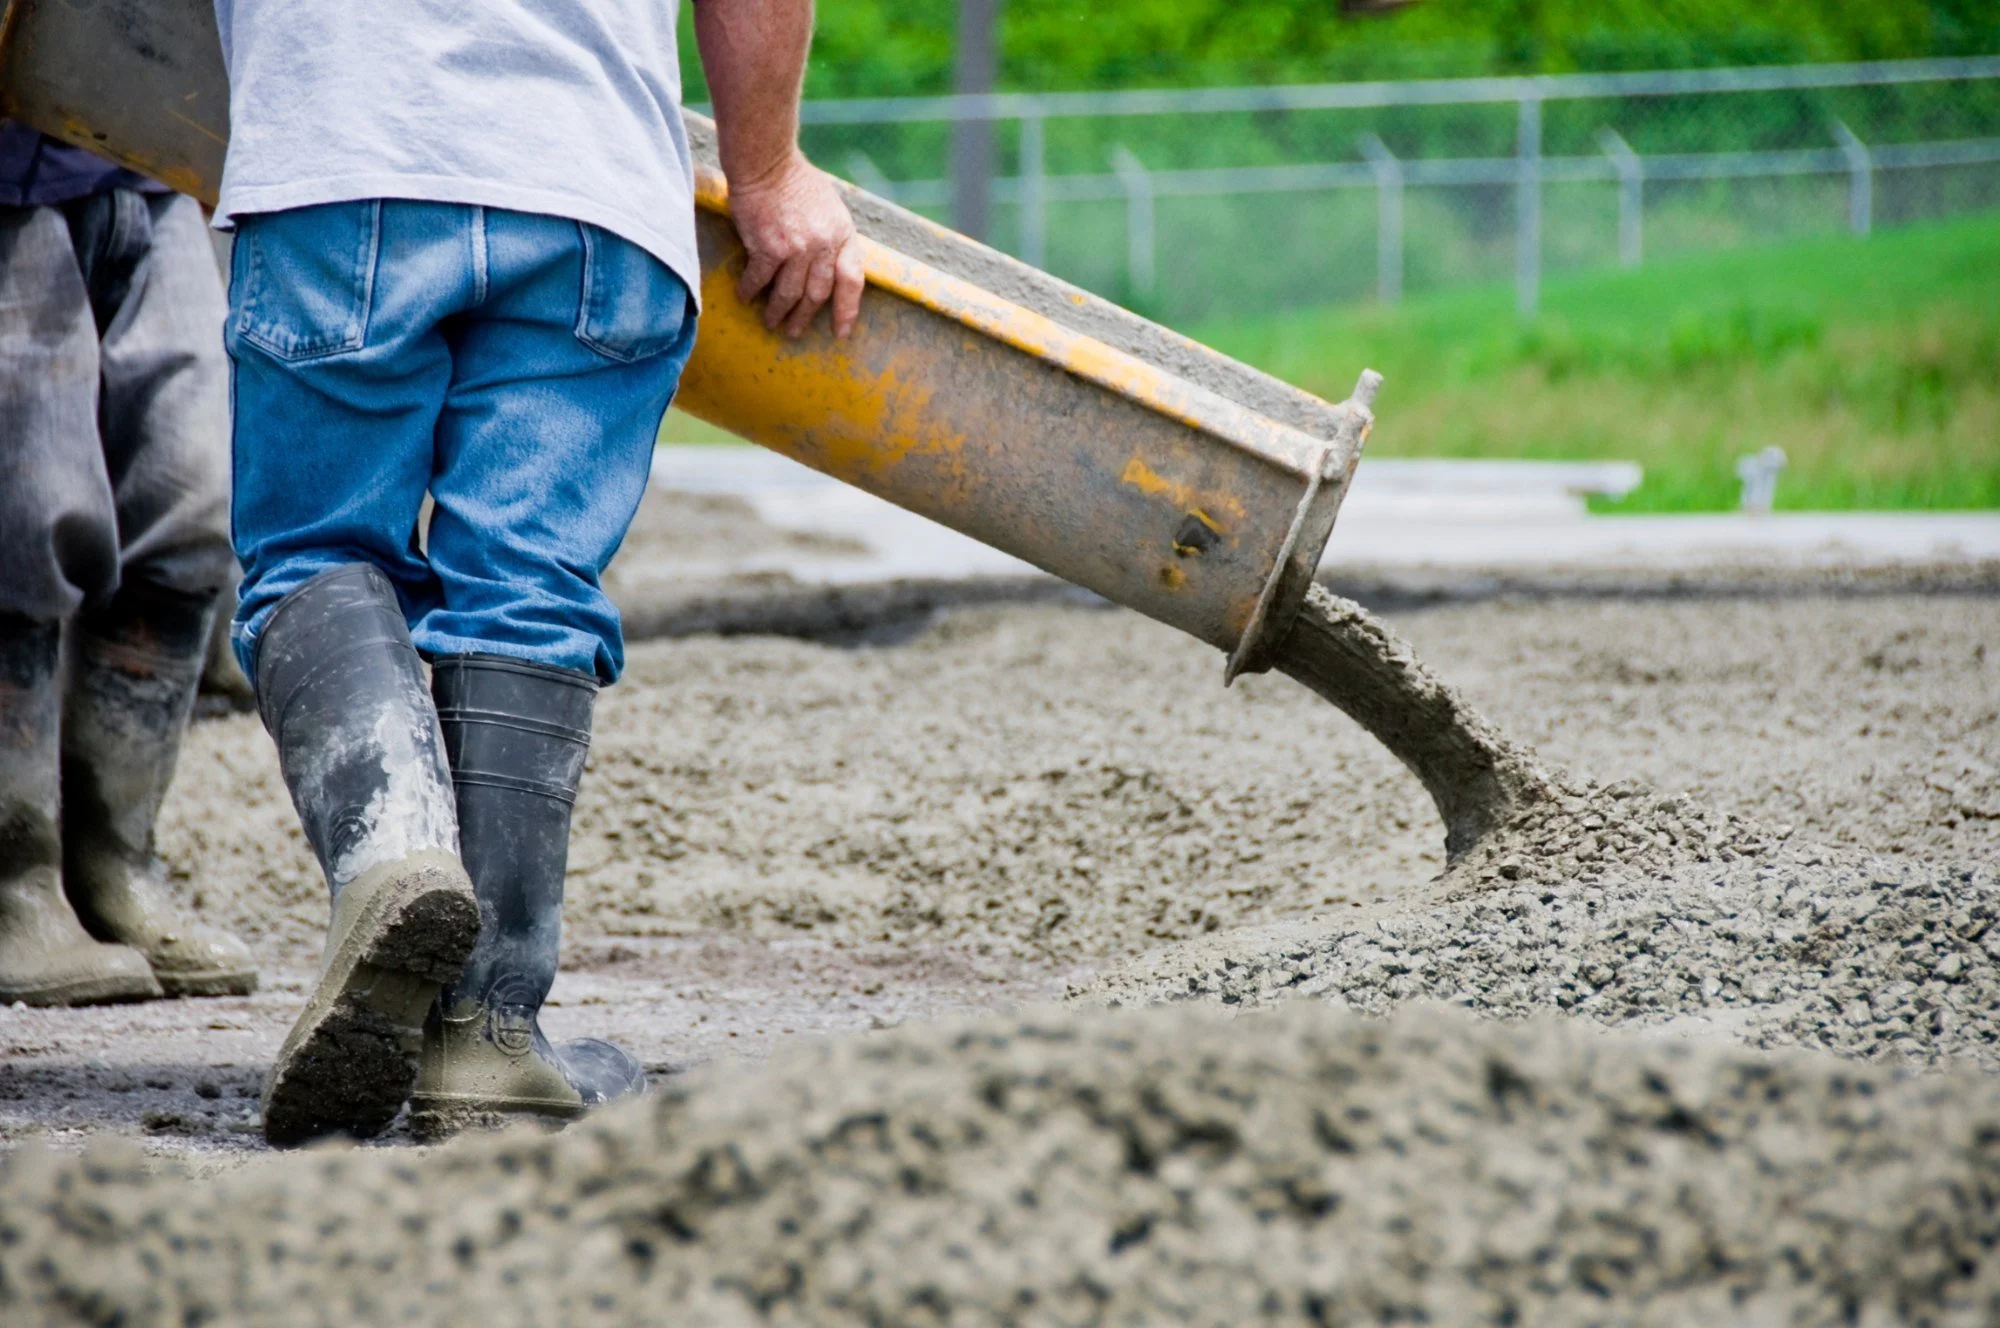
How to lay concrete for a silage clamp
So you’ve chosen the right mix and not added any water, so if you’re still feeling brave enough, you might consider laying this stuff yourself. The best advice I can give you is to be prepared because time is absolutely critical. Start by getting the site fully prepared the day before, not just before, the trucks arrive. A membrane below the slab is really important for numerous reasons but it also helps to reduce the water losses out of the slab once it’s placed. Set the mesh up where it’s designed to be. Dropping it in or treading it in, is almost pointless because it won’t be in the right face or have the right cover. Set it up and cable tie it in place so that it doesn’t move once the concrete hits it.
Next decide how you are going to compact the concrete. Vibrating tamps are OK for thin slabs, but a vibrating poker is much more effective for deeper pours. There are some great clips on YouTube of just how effective compaction is. There is way more air trapped in concrete that you can imagine and good compaction will expel this trapped air. Remember air is holes, and holes are a problem.
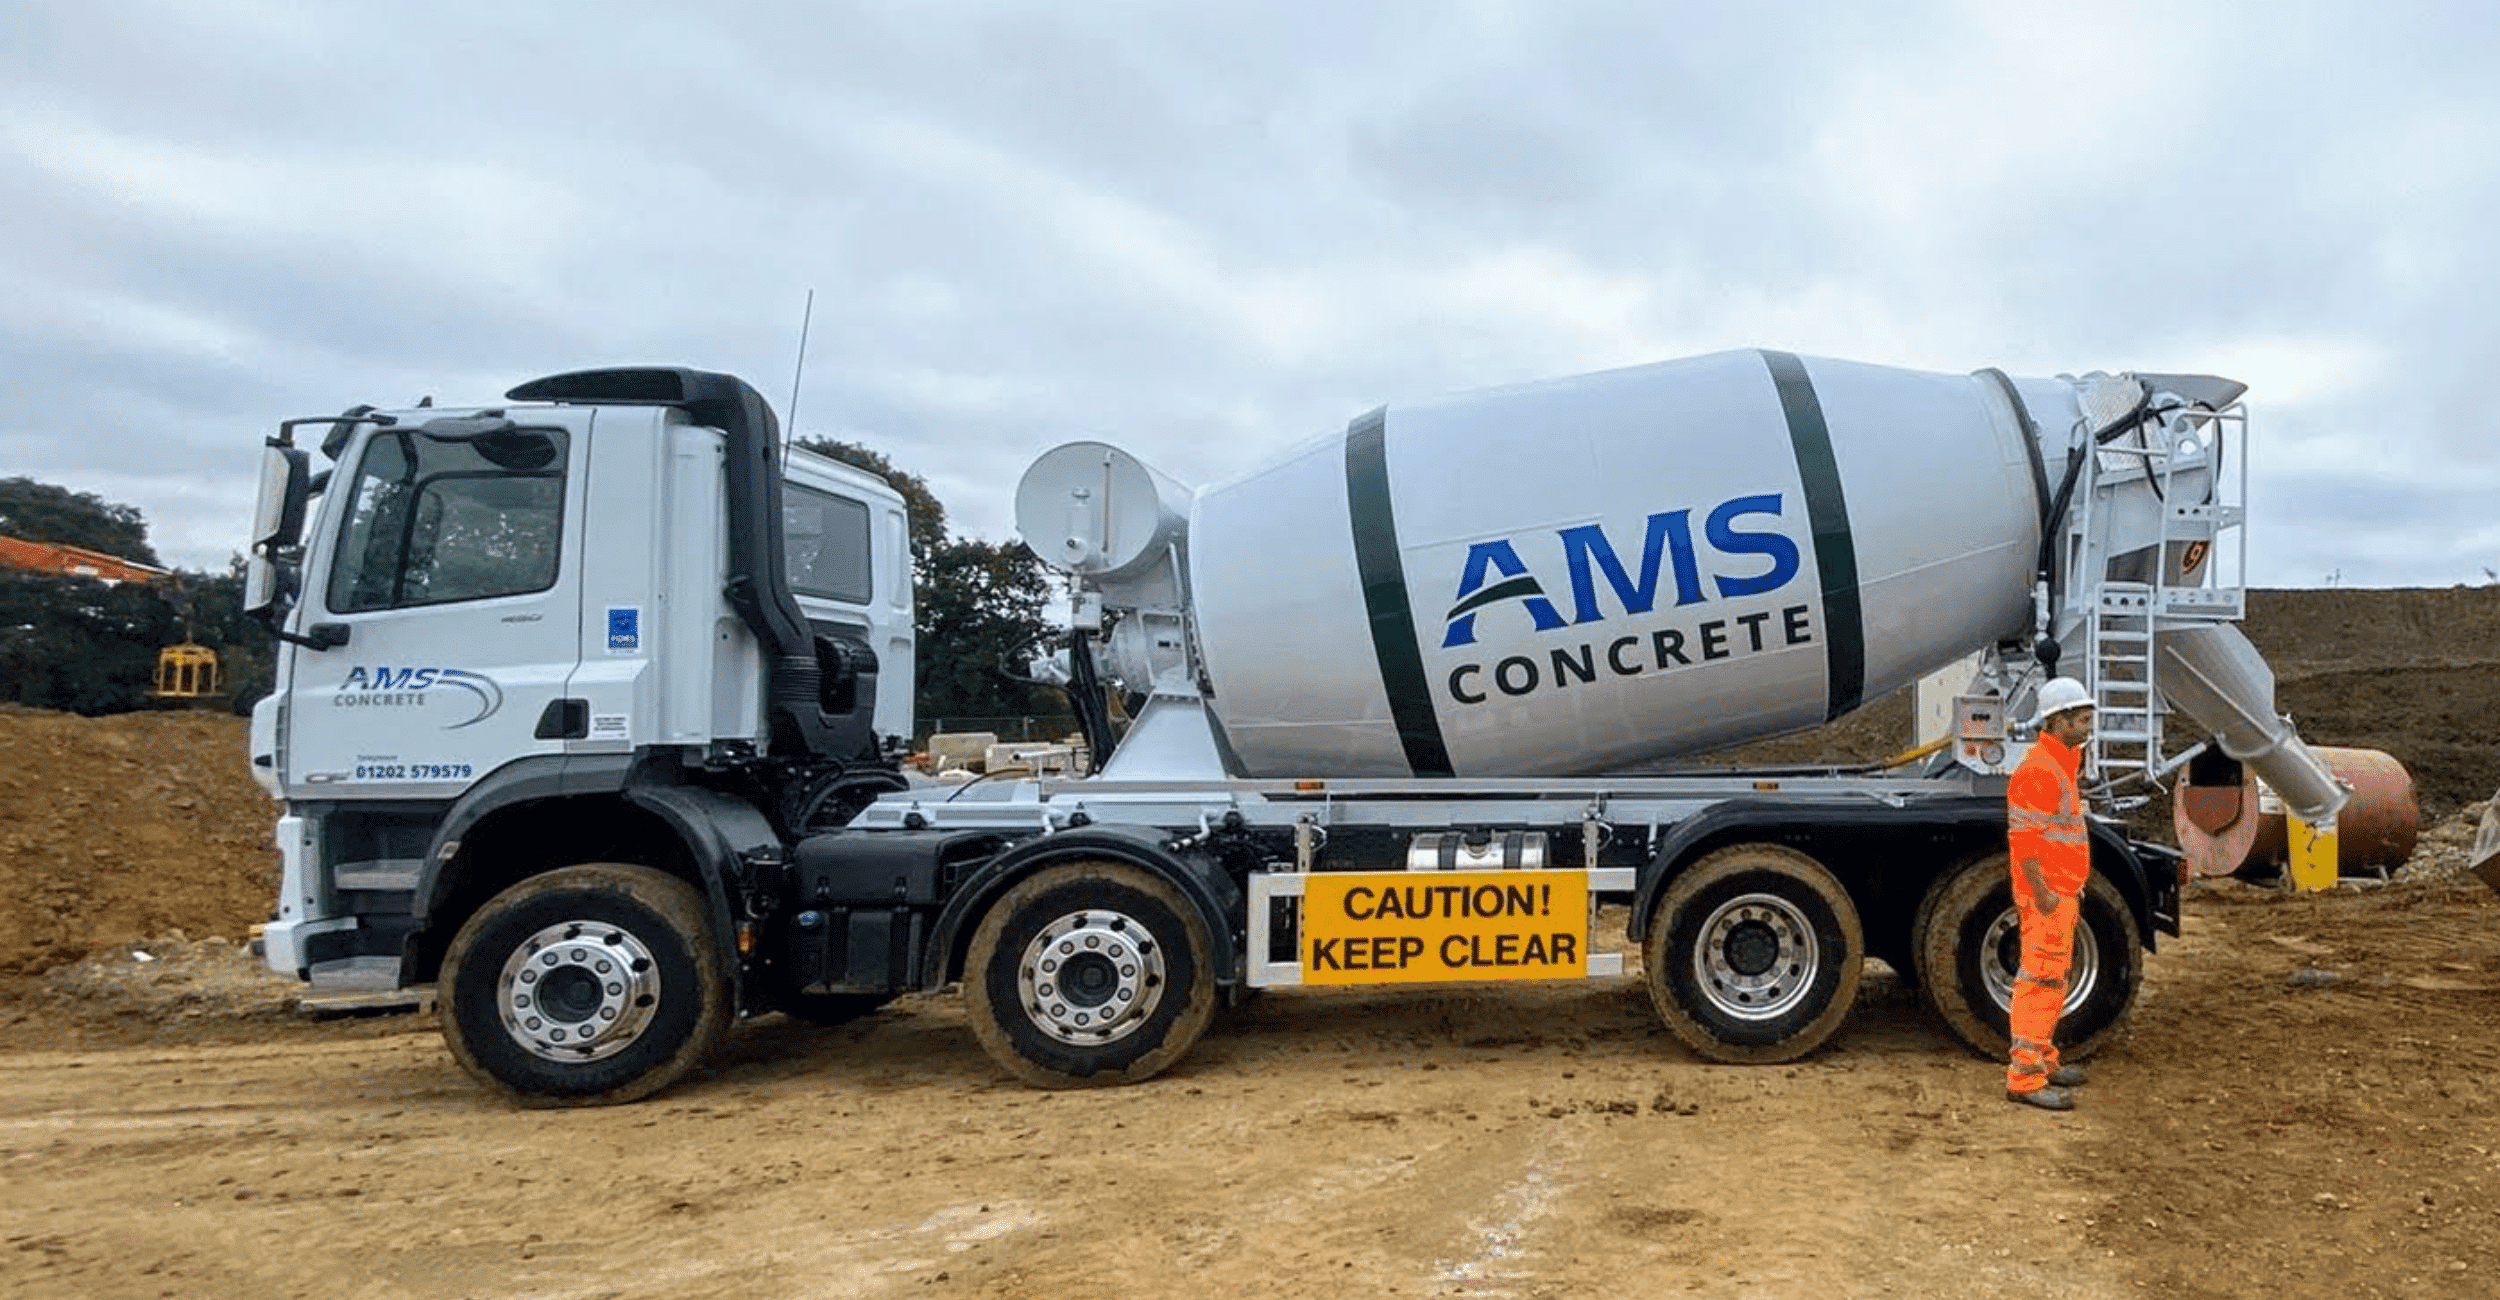
Ready mix delivered by AMS Concrete
Now when the concrete arrives, the rules from 1 to 10 are DO NOT ADD MORE WATER. If you want to make placing and working the concrete a bit easier, instead of adding water, get the plant to mix in a plasticiser as this makes it more workable without leaving you more holes than a Swiss cheese. But beware, plasticiser concrete will “go off” in a flash. It’s workable, runny and lovely for a while and then without warning, bang it’s gone solid. So work quickly.
Then there is the curing process to manage. To make the most out of the concrete you need to try and limit the evaporation, to make sure the cement is all properly hydrated before the water has all gone. As soon as you get the initial set, it’s good practice to cover the slab with a plastic sheet. You can use a curing spray membrane but these are really for the professionals and not easy to apply. If it’s really warm, spray some water on before the plastic sheet. If it’s cold protect it with some insulation boards or straw. If the water inside the concrete freezes it will blow the matrix apart and the concrete will be ruined.
Then leave it, for longer than you think. Ideally you should leave it for 28 days before you “use” it, in the real world at least 2 weeks in warm weather. If it’s cold, then 3 weeks.
Of course I haven’t even begun to look at aggregate types, slab thickness, reinforcing mesh or fibres… there is way, way more to concrete than you ever thought….
If you want to know more about concrete for your silage clamps or would like to discuss any other aspects covered in this series, contact me at jeremy@silageconsultant.co.uk