How to set the conditioner for better grass silage
If you mow your own grass for silage it’s time to be honest - when was the last time you changed the conditioner settings on your mowers - oh and if you’re not using a mower with a conditioner here is why you should. So come on, own up, you haven’t changed them since the first time you went out to knock some paint off it have you? So if you haven’t, you’re not alone. My completely un-scientific straw pole suggests that the “set it and forget it’s” are in the majority. But if you want to think about making better silage, then the conditioner settings are something you might need to consider.

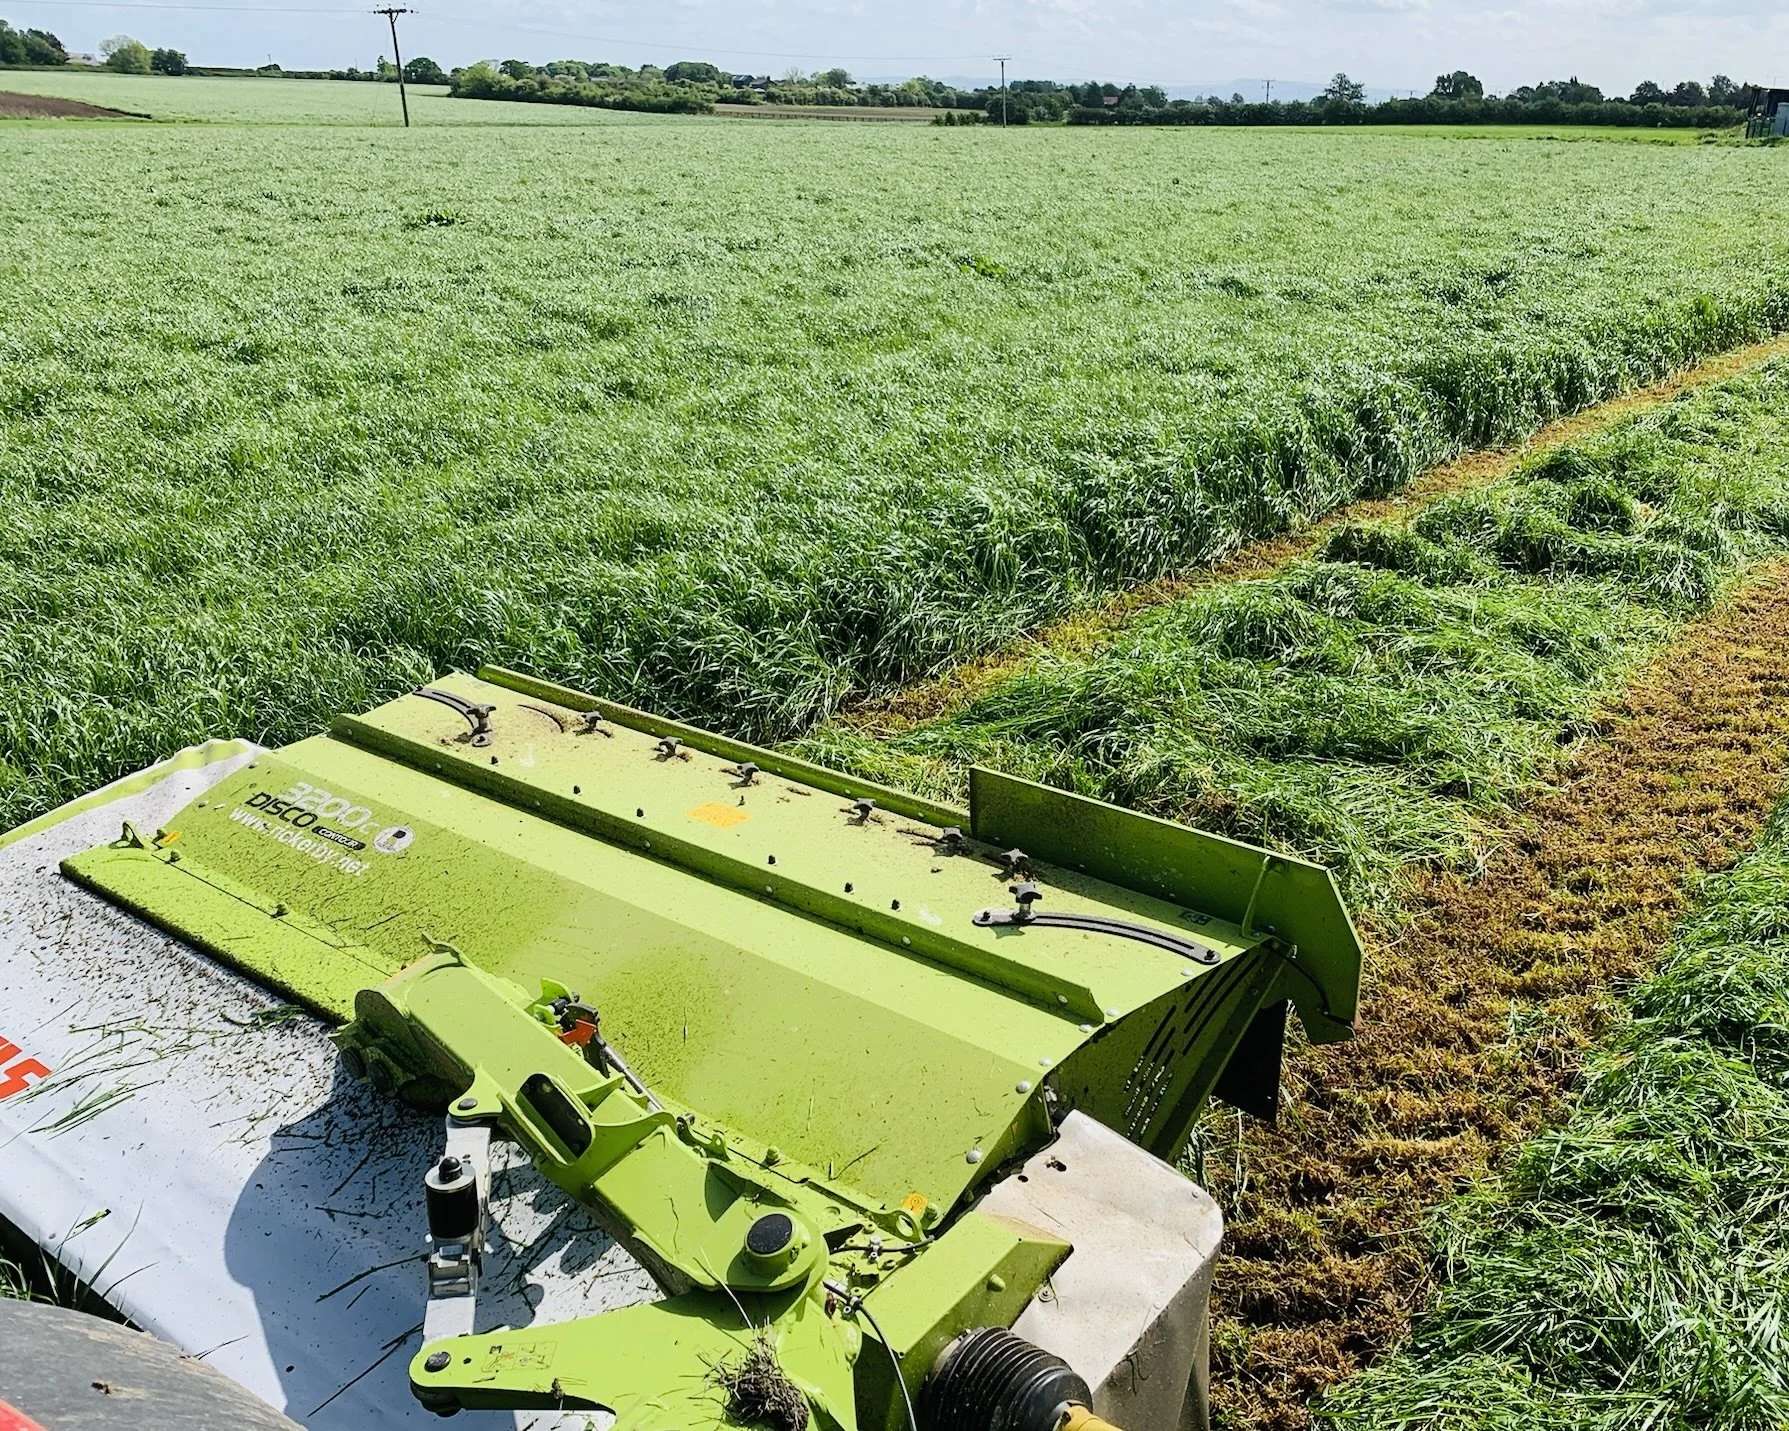
Krone EasyCut
So what’s better for grass silage - high or low speed conditioners?
I guess that’s the answer most users want to know, and I'll try and give you an answer, but as with all things silage, it’s complicated. Firstly we need to understand how the conditioner actually works. For the avoidance of doubt, in this article I’m concentrating on the tines rotor conditioner that’s the market leader in Western Europe. Crimping rollers are popular in areas producing large amounts of alfalfa forage but they are a rare sight in Europe.
How the conditioner works
There are two elements to a tine conditioner and three modes of action. The cut crop is picked up off the cutter bar and carried over the rotor within a gap between the tines and the hood. This gap and the speed of rotation are adjustable to give different types of conditioning. Unsurprisingly the smaller the gap and the higher the rotor speed, the more aggressive the conditioning effect.
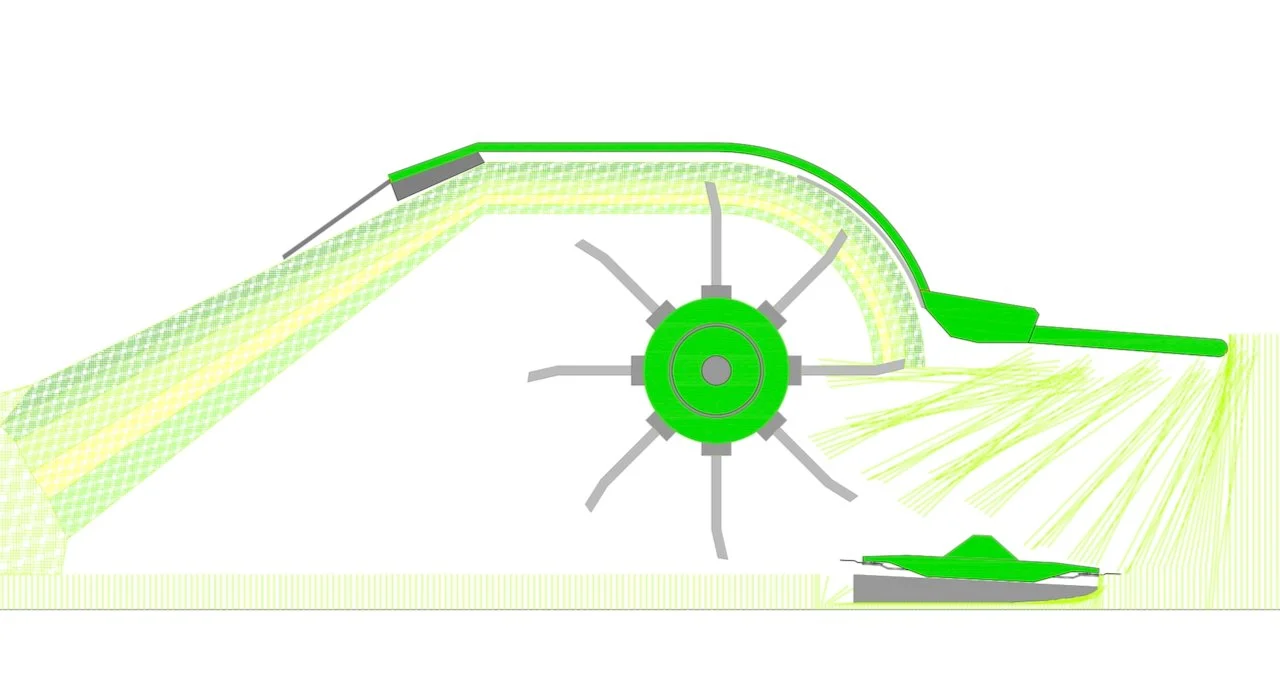
While that much is obvious, what you really need to consider is what is actually happening to each plant, stem and leaf. Conditioning is there to speed up wilting and to get the crop to target dry matter levels before you lose too many sugars through respiration. A tine conditioner does this by scraping at the plants waxy surface layers to allow more moisture to escape. Inside a tine and rotor conditioner this occurs in three ways.
Firstly there is the action of the tines hitting the grass and lifting it through the machine. The rotor is spinning at 700-1000rpm so the tines slice past the grass at a massive speed difference causing surface damage to the waxy coat.
Secondly the grass touching the hood or canopy is travelling past the stationary metal surface at high speed so again these leaves receives some abrasion or scuffing. Some manufacturers put an abrasive surface on the inside of this hood to increase this effect.
Thirdly, there is a grass to grass effect. The metal of the rotor and tines are travelling at high speed whilst the hood is stationary. The speed that the grass goes through the machine varies depending on where it is in this matt of material. That closest to the rotor is at high speed, that near the hood the slowest. This speed difference means the plants are sliding over each other and this causes some of that waxed coat to be destroyed.
Which is the most effective part of the conditioner?
You’d think the action of the tine on the grass (the first action above) would have the biggest effect on the grass and that this would “do” the most conditioning. But in trials engineers found that it's the grass on grass action that’s the most effective part of the whole process. So that’s the bit the adjustments are trying to control.
What setting do I need to start with?
Once you know how it works, you can decide how to set it up. Before you can choose a setting you also need to think about what the machine is designed to cut. Manufacturers are trying to produce a machine that can tackle a huge lush first cut in Ireland or a sparse second cut harsh grass in the parched areas of eastern Europe. So the range of adjustments will be designed to suit all eventualities.
In a good heavy first cut grass silage you're going to be putting a lot of material through the mower. Closing the conditioner hood down in this type of crop will take a lot of power and burn a lot of diesel. It will probably bung the mower or burn out the belts too if its a monster crop. So as a rule of thumb, a heavy crop needs the hood fully open. In lighter crops you need to close the hood down to ensure there is enough resistance through the conditioner to make the most of the grass on grass action.
As the crop matures, the wax gets tougher and harder. In late cut low d-value crops you need the rotor at its highest speed as the stemmy material will take a lot of abrasion to break open the surface to allow moisture loss.
Is conditioning multi-cut silage different?
So if you’re cutting rocket fuel - or grass with very high d-value then there won’t be very much of it going through the machine. In this case you need effective conditioning because this grass will lose lots of feed value whilst sitting in the swath. You need it to dry or wilt to the target DM as soon as possible so the conditioner settings are critical. Because there is not much material in there you need the hood closed down to get a good speed difference but the crop is delicate so you should consider running the rotor in its slowest gear.
What about comparing machines?
Manufactures are keen to promote their differences to the other competitors on the market. Rotor speeds vary quite significantly but that’s not the only area of difference. One area where these differences are easily noted is the tine design. In recent years, most manufactures have offered with steel Y tines or a similar shape in some type of “plastic” or “nylon”.
Plastic or steel tined conditioner?
You pays your money and takes your choice here when it comes to shape, I’m sure there are advocates of one tine profile over another and I’m not going to pick one over another. But there are significant differences between material. The plastic tine (as I will call it) has different properties. The conditioning is more gentle in fragile crops such as those high d-value and those with higher clover content. Steel tines are more aggressive in late cut stemmy crops. Oh and steel lasts longer than plastic in this application.
Rotor speed differences
The brochures will list rotor speed options of between 600rpm and 1000rpm, but the speed of the rotor is not really the critical point, it’s the speed of the tine, and these figures have to be worked out. For that we need to calculate the actual tip speed of the tine.
Make A Make B
Rotor Dia 540mm 640mm
Low speed 750rpm 600rpm
High speed 1000rpm 900rpm
Tine speed m/s 21.2 - 28.3 20.1 - 30.2
Tine speed mph 47.4 - 63.3 44.9 -67.5
From the spec sheet, you’d think the machine with the 1000rpm option would give a greater conditioning effect, but you can see that the rotor size has a huge effect so much so that the ‘slower” machine actually has a 6.6% faster tine speed.
The power to drive the conditioner seems to have more to do with the design of the discs that are doing the cutting. Some designs seem to flow the crop into the conditioner more easily whilst others rely on the conditioner to lift the crop off the bed. A demo is the only way to really test one designs power demand on your farm

And to answer the question we had at the start…
As a rule of thumb in a mostly grass crop, on a typical 2-3 cut system, run the conditioner fast, with the hood fully open at first cut, then close it down if the crops are thin. In more detail, run the conditioner as aggressively as you can to start with then get out and look at the crop. If you can see leaf damage, back off the conditioning, typically by opening the hood. In a leafy crop, run the rotor slower and the hood closed down.
If you want to know more about the importance of setting up the conditioner on your mowers or would like to discuss any other aspects covered in this series, contact me at jeremy@silageconsultant.co.uk